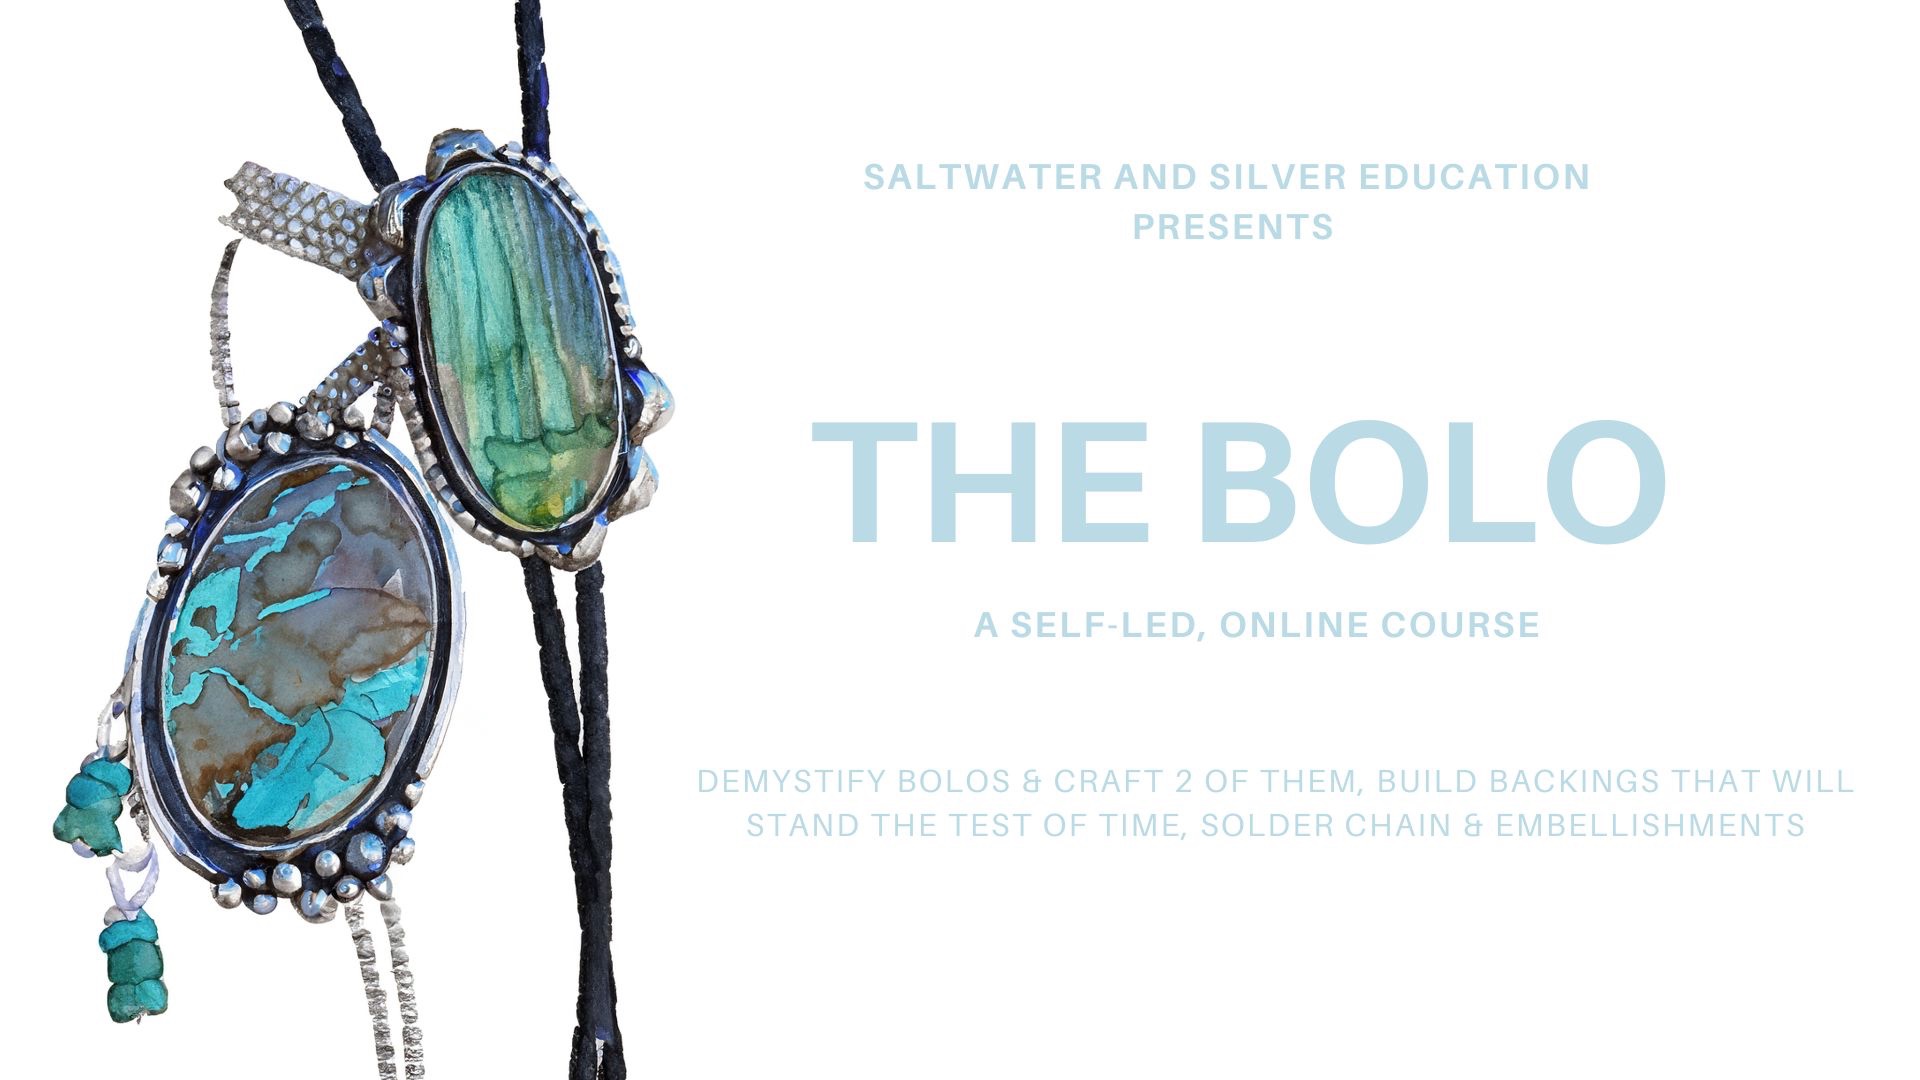
The Bolo
Demystify the process of creating a bolo and add a litany of skills to your toolbox while doing it!
Learn to make 2 different bolos with 4 different backs, along with one that I recommend you avoid.
This course is for the smith who feels comfortable with a torch and understands basic soldering and sawing skills and techniques.
You’ll never again
have to wonder how
it’s made
The process of bolo-making has quickly become a coveted secret in the metalsmithing community. There is barely any content available anywhere on the internet describing how to create them, and not many smiths are willing to share their secrets. I don’t blame them- the process is far from intuitive, and the solution is hard-earned.
Until today.
You’ll never again have to wonder how it’s made. This course will take you through the entire process of making a bolo, from bezel to polish, with every question answered between (and some you didn’t even know you had). The time of suffering for the solution has come to an end. Stop adding to your scrap pile and wishing that you could complete the bolo you’ve dreamt of- because now you can. It’s just one click away.

What you will accomplish in 6 hours
Expand Your Skills
Learn how to create a variety of design elements and time-saving soldering techniques for completing designs.
Build Bolo Backs
The type of back that you need for each piece could be totally different. Explore 4 options, along with one that I think you should avoid.
Customize Bezels
Not all stones are created equal. Within this content you will see how to customize a bezel for an irregular cabochon. No more excess metal over your stones.
Solder Chain
And do it without melting or freezing it! After finishing this course, you will have gained knowledge on how to solder jump rings onto silver chain with 3 separate techniques.
What You Get Inside
- 6 hours of detailed instructional video taking you through the bolo-making process, including bonus content to further expand your skills.
- PDFs with links to all of the equipment and materials you'll need to complete this project
- Written guides to accompany every section of the course- print these out to refer back to
- Lifetime access to the program so you can go at your own pace and revisit it whenever you'd like
- A list of my favorite places to shop for tools, materials, & stones (with a discount!)
- Solder cheat sheet and visual aids for soldering bezels and continuous circles
- A code to use at Rio Grande Jewelry Supply which provides you with a 6 month trial of their Rio Pro membership with wholesale pricing
- Optional closed captions in English

The Topics We Cover
- All the materials to complete the project: my favorites, and suggestions on others (plus where to shop)
- Tips on organization to keep everything in order when creating projects with many moving pieces
- Bezel-building, creating a variety of embellishments, stamping
- Creating bolo mechanisms from scratch
- The easiest way to solder on silver balls and domed elements
- Stone-setting and bezel customization
- Sawing, refining, polishing to a mirror finish, and texture
- Working with leather cord
- Soldering silver chain
- And so much more!
No Need To Compete For A View With First-person POV
It's like you're sitting right at the bench from start to finish


I Was Clueless
I had absolutely NO idea where to begin when I first started making bolos. I’d only ever seen one in person, and that was long before I ever had the desire to create any; so naturally I didn’t take a single moment to look at how it was structured. Honestly, I probably wouldn’t have remembered anyway.
My natural next step was to take to the internet and research the hell out of this process in an attempt to make sense of it.
I came up with scraps.
I discovered one way to make them, but the mechanism that was required created gross limitations around the size of my piece. Dainty, smaller bolos were OUT.
It was this fact that drove me to decipher another way to build the bolo mechanism. Something that was more versatile and gave me greater flexibility around the size of what I wanted to create. I scoured Instagram and Etsy to find ANY hint of what other smiths were making to hopefully inspire what would become my go-to bolo backing, to no avail.
The search however didn’t prove to be a total waste of time. I did discover a bolo mechanism that I vowed to avoid because I just couldn’t get my head around how it could be handed down from generation to generation. THAT is the jewelry that we create around here. It’s the longevity factor that weighs most heavily in my mind while building my pieces and the same mindset that I work to bring into my courses.
After loads of experimenting, I finally arrived at the bolo mechanism that I use today. It offers me the versatility that I’m looking for, it’s simple, and its high quality that will last lifetimes.
If you learn one thing about me, let it be that I loathe limitations. When I’m up against a wall, I dig my way through. That’s exactly what I did here and now I’m turning it over to you
The years of trial and error. The endless web searches. The money wasted. The broken pieces. All of that learned experience is what you’re going to find within The Bolo Course. I did all of the work, so you don’t have to! Consider this your permission to skip the line. Come on up to the front and get ready to make the heirloom bolo of your dreams.
How the bolo course is different
This course is the very first of its kind- the only one like it to exist in the world. Bold, and factually accurate.
I don’t do anything small. I think it’s a waste of your time to commit to expanding yourself only to be left feeling unsatisfied.
Inside of The Bolo Course, we don’t just go over the basics of creating a bolo. We aren’t simply talking about a single mechanism on the back of your setting with a few pointers, only to send you on your merry way. That’s not how we do things here. We do MORE.
I want you to leave every course that I offer thinking “WOW! I can apply this knowledge in my work in so many ways! That was completely unexpected and more than I anticipated!”
We’re not just skimming the surface- we go DEEP. I’m taking you through the process of creating a bolo, from start to finish, two times.
From bezel to polish- we cover it all.
It was imperative for me to take you through this journey twice because of all that we touch on throughout the process. You’re learning how to work with silver balls and a shot plate. How to create stamped and domed embellishments. The ins and outs of organization while working with complex designs. Not to mention the differences between leather cord and silver chain, and soldering jump rings onto chain?!

There was no way that I could leave any of it out.
My years of wisdom have been infused into this content, and it’s yours for the taking.
During our time together, I remind you again and again that what we do is an incredible gift. That we are human creators and not machines. To honor the journey as you go and dare to have fun while doing it.
The Bolo Course is a wellspring of answers to some of the most-asked questions I receive. You will leave feeling empowered and knowledgeable. After you complete the course you will have attained a deep understanding of 4 different bolo mechanisms, 3 ways to solder jump rings onto chain, how to prepare your leather cord, polishing to a mirror finish in 2 steps, and so much more.
Why is The Bolo Course different?
Because I value answers and knowledge, and I leave no stone unturned.
A Look Inside The Syllabus
Here is outline of what you will see within the hours that we spend together inside of The Bolo Course:
1. Welcome
2. Building the bezel
3. Creating the Labradorite bolo
4. Stamping
5. Layout the setting
6. Prep the embellishments
7. The backplate
8. Solder it all down
9. Saw it out
10. Refining
11. Creating the Royston Bolo
12. Prep the embellishments
13. Soldering it all down
14. Saw it out
15. Refining
16. Choosing cord vs chain
17. The backings
18. Prepping the maker’s mark
19. Solder on the back and mark
20. Patina
21. Tumble
22. Setting the stones
23. Polishing
24. Bolo Tips
25. Finishing the Royston Bolo (chain)
26. Closing
27. Bonus Content
- Bonus bolo back 1
- Bonus bolo back 2
- Bonus bolo back - the one to avoid
- The vinegar pickle
- Making silver balls

Learn the Secret
Figuring out how to fabricate a bolo took quite a lot of experimentation- it was not an intuitive process. In fact, the bolo backing has become a coveted secret in the smithing community.
The content within The Bolo Course will give you the knowledge that you deeply desire and enable you to bring your ideas into reality. You will leave feeling empowered to create your unique vision in metal and confident in your skills to follow through.
In just 6 hours, my years of wisdom are yours
